
Night Photography: Tips And Tricks For Best Results
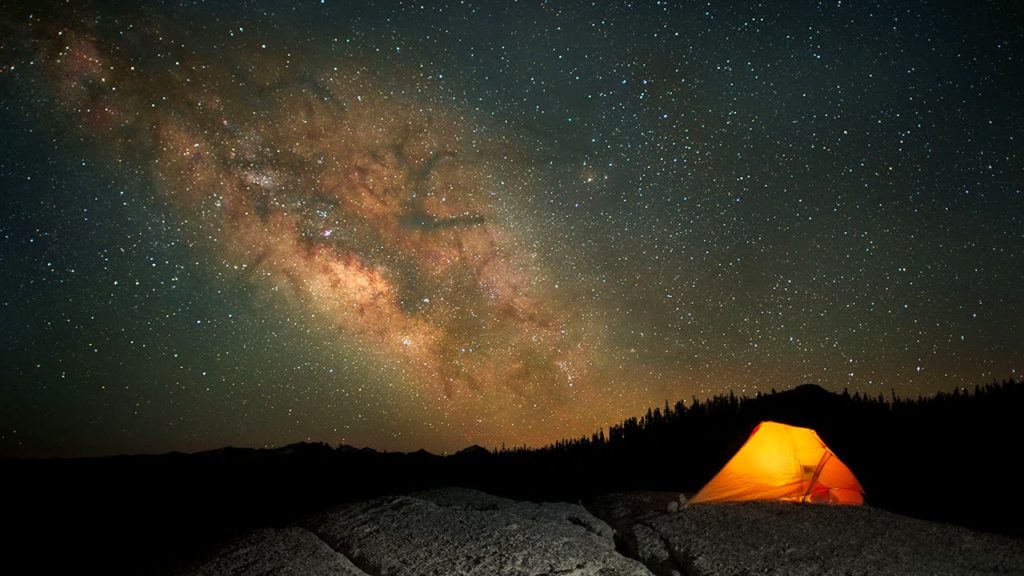
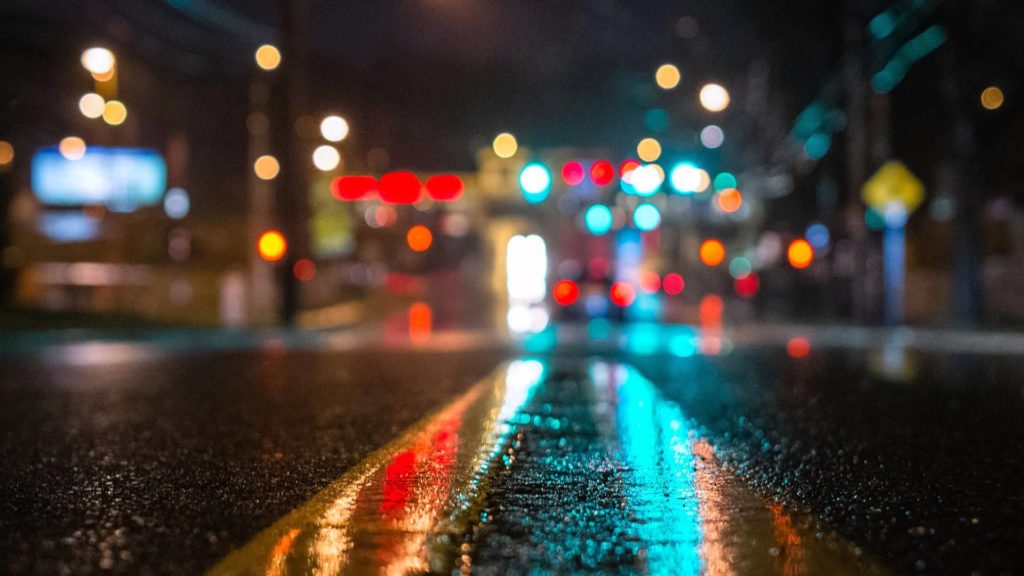
Capturing scenes in low light is a tough challenge. However, there are thousands of stunningly beautiful photos of buildings by night, of the starry sky, or of solitary subjects on a Milky Way background. You don’t need to be a professional photographer to create gorgeous night photos yourself. This article shares a few handy tips and tricks to help you improve your skill and obtain impressive results.
A solid tripod is an absolute must, if you want results to be proud of. By night, the amount of light that enters the camera is lower, so the shutter has to stay open for longer, in order for the subjects to be visible. Photographing handheld without a tripod usually results in dark, blurred images, as holding the camera still for such as long time is impossible for most people.
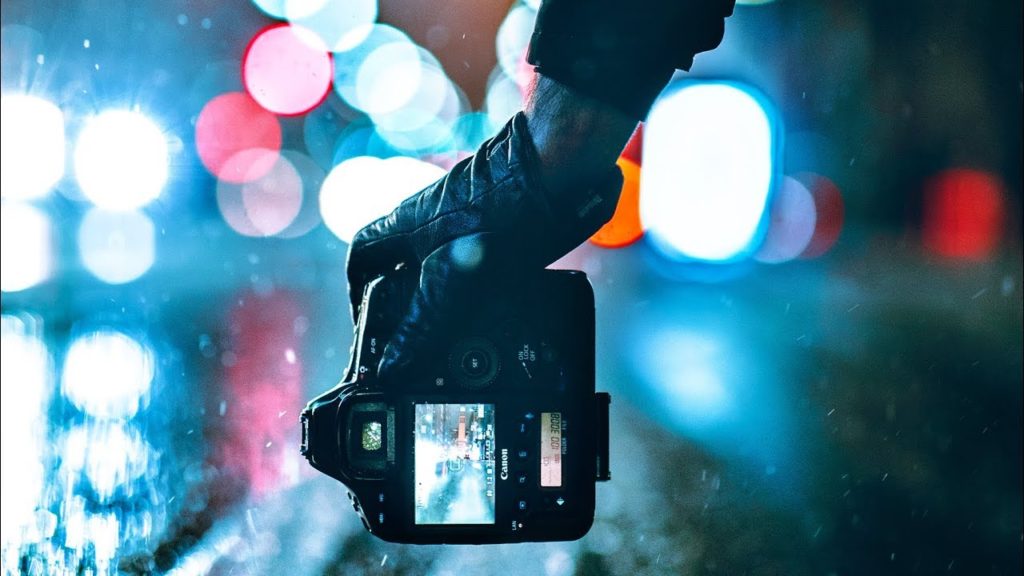
The other must-have is a camera with the manual mode option. It doesn’t have to be a professional DSLR or a mirrorless model. A compact point-and-shoot will do just fine, provided that you can adjust the ISO value, the aperture and the exposure time. These being said, it is worth mentioning that it is possible to obtain great results even in the Auto mode, provided that you use a sturdy tripod and an ISO value above 800. In fact, picking the right ISO value is an art. The higher the ISO, the more background noise you’ll get. By lowering this value to the minimum possible value, you’ll achieve the best result possible for that specific setting and lighting conditions.
If you use a DSLR or a mirrorless camera, choosing a wide aperture lens will help you improve your results. The larger the aperture, the more light that enters the camera and hits the sensor. This means that you can use shorter exposure times or lower ISO values. If possible, try to get an f/1.4 lens, or at least an f/1.8 one. The latter are much more affordable and they are capable of impressive performance by night time.
Always take test shots to determine the ideal settings. Play around with different shutter speeds and with different ISO values. Try using the Aperture mode to see how results differ with the aperture of your lens.
In addition, shoot in RAW, if your camera allows it. By post-processing your RAW images in a photo editing software program, you can reveal lots of details that are hidden in the dark. Simply raising the blacks in the photo developing mode will enable you to improve your results big time.
Bracket exposure can also help you improve your night photography. Once you have a series of images of the same scene, you can either choose the best one or overlap them in your photo editing program to obtain an image that’s better than each of its components. There are many software tools that can help you achieve this.
Switch your camera on manual focus mode. By night, most cameras have problems with finding a subject to focus on. The manual focus mode hands you the control over which part of the image should be in focus. There are special techniques for shooting the stars, so make sure you read some tutorials on that to learn how to set your camera focus to infinity, and how to control the hue of the sky.
Last but not least, brace yourself for intensive practice. Go out there, by night, at different moments, to see how your choice influences the results. Experiment with different ISO values. Examine the images to find the optimal setting. The more you practice night photography, the better you’ll become.